Deploying your app with GitHub Actions
In this tutorial, we will show you how to deploy an app with GitHub Actions (opens in a new tab), so that every push to your GitHub repository will automatically deploy the new version of your app to Numerous.
In the repository found here (opens in a new tab), we have set up the example that we will go through in this tutorial. You can use it as a reference for your own repository.
Clone the repository to your machine
This tutorial assumes that you have a repository set up on GitHub. To start, we can either clone it, or if it is already on the computer, navigate to it in our terminal.
Create a simple app
Inside the folder of our repository, we will create a very simple app. In this tutorial, we will be creating a Streamlit app.
numerous init --app-library streamlitAfter following the wizard, we open app.py in our code editor and
add the following content to it:
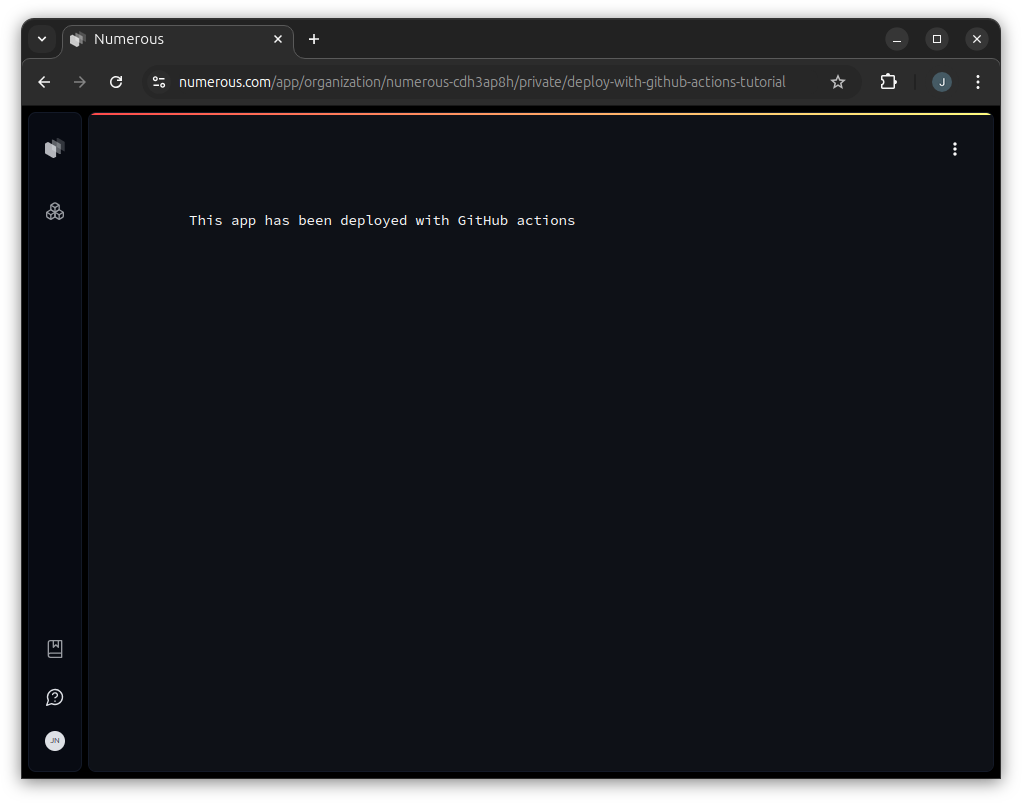
import streamlit as st

st.text("This app has been deployed with GitHub actions")
Now that the app is ready to be deployed, we need to set up the deployment.
Define the GitHub Actions workflow
In your repository folder, create the directory .github/workflows and inside
that, add the file deploy.yml and the following workflow definition:
name: Deploy

on:
  push:
    branches:
      - main

jobs:
  deploy:
    runs-on: ubuntu-latest
    steps:
      # First, we check out the code:
      - uses: actions/checkout@v4

      # Then we set up Python:
      - uses: actions/setup-python@v5
        with:
          python-version: "3.11"
          cache: "pip"

      # We install the Numerous SDK, which includes the CLI:
      - run: pip install numerous

      # And finally we deploy our app, setting the NUMEROUS_ACCESS_TOKEN
      # environment  variable with the GitHub actions secret that contains the
      # actual value.
      # We also insert the app slug and organization slug from secrets.
      - env:
          NUMEROUS_ACCESS_TOKEN: ${{secrets.NUMEROUS_ACCESS_TOKEN}}
        run: numerous deploy --app ${{secrets.APP_SLUG}} --organization ${{secrets.ORGANIZATION_SLUG}}
Create a personal access token
We need a personal access token to give the CLI access to run in the GitHub
Actions environment without logging in.
Create a personal access token with the following command:
numerous token create --name github-actionsCopy the token that is printed to add it to a GitHub secret later.
Finding your organization slug
You can find your organization slug in the browser or with the CLI.
Using the CLI, we can run numerous organization list, and a list of all your
organizations will be displayed, which includes the organization slug. You can also create an organization with
numerous organization create if you do not have one.
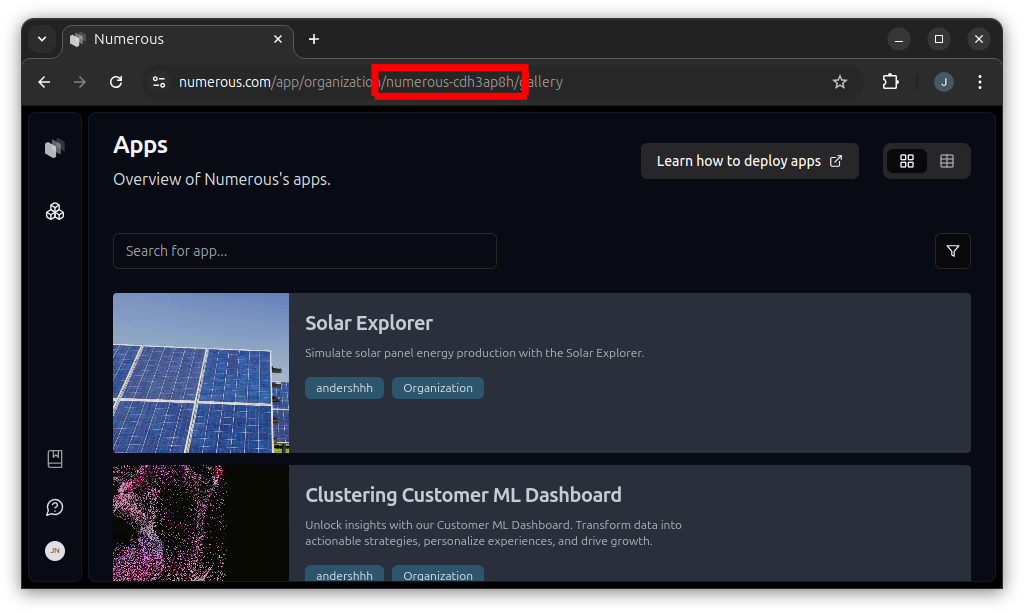
In the browser, you can find the organization slug in the address bar.
See the image below for reference:
Add secret values to GitHub Actions
In our workflow file, we used the secrets NUMEROUS_ACCESS_TOKEN, APP_SLUG, and
ORGANIZATION_SLUG. We need to define the values for these.
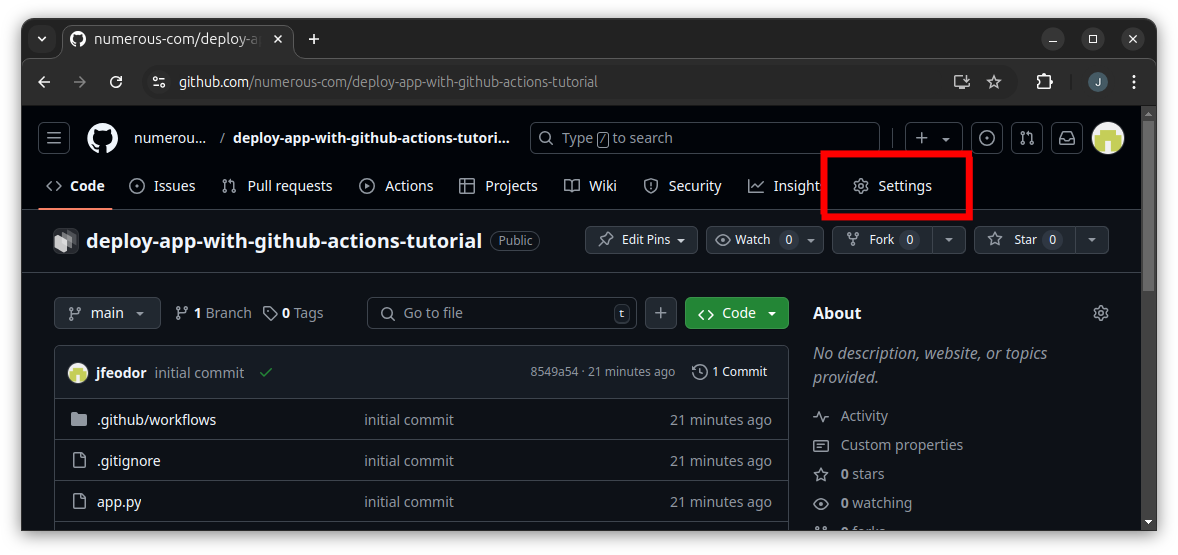
-
Go to the repository's Settings page.
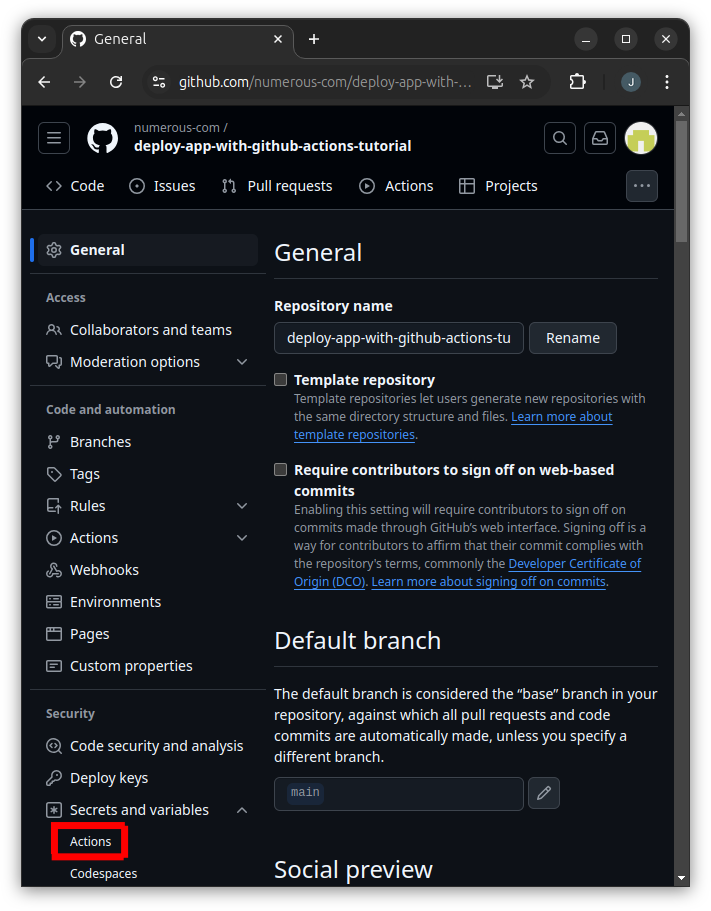
-
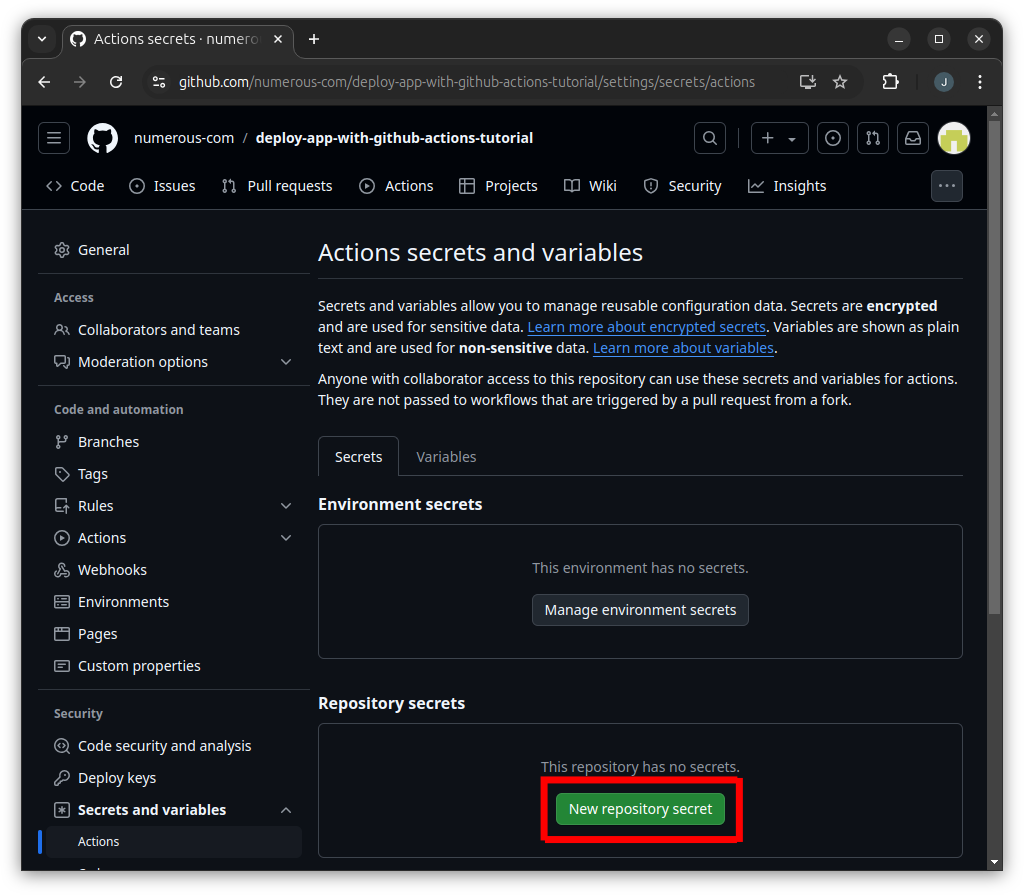
Open the Secrets and variables for Actions page.
-
Click the button to create a new repository secret.
-
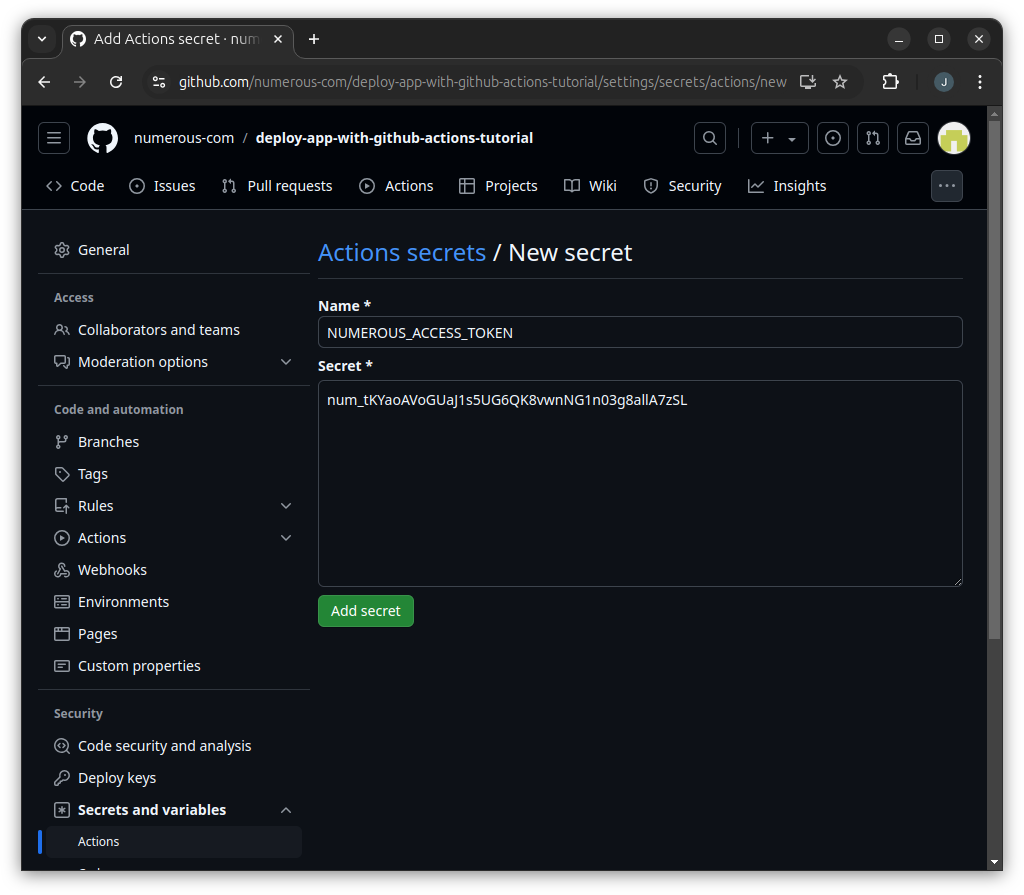
First, we add the secret named
NUMEROUS_ACCESS_TOKENthat we use in the workflow. Add the personal access token that you created earlier as the Secret.The value in the image is an example of how it will look:
-
Now, we add the secret named
ORGANIZATION_SLUGthat we use in the workflow. Add the organization slug you found before as the Secret.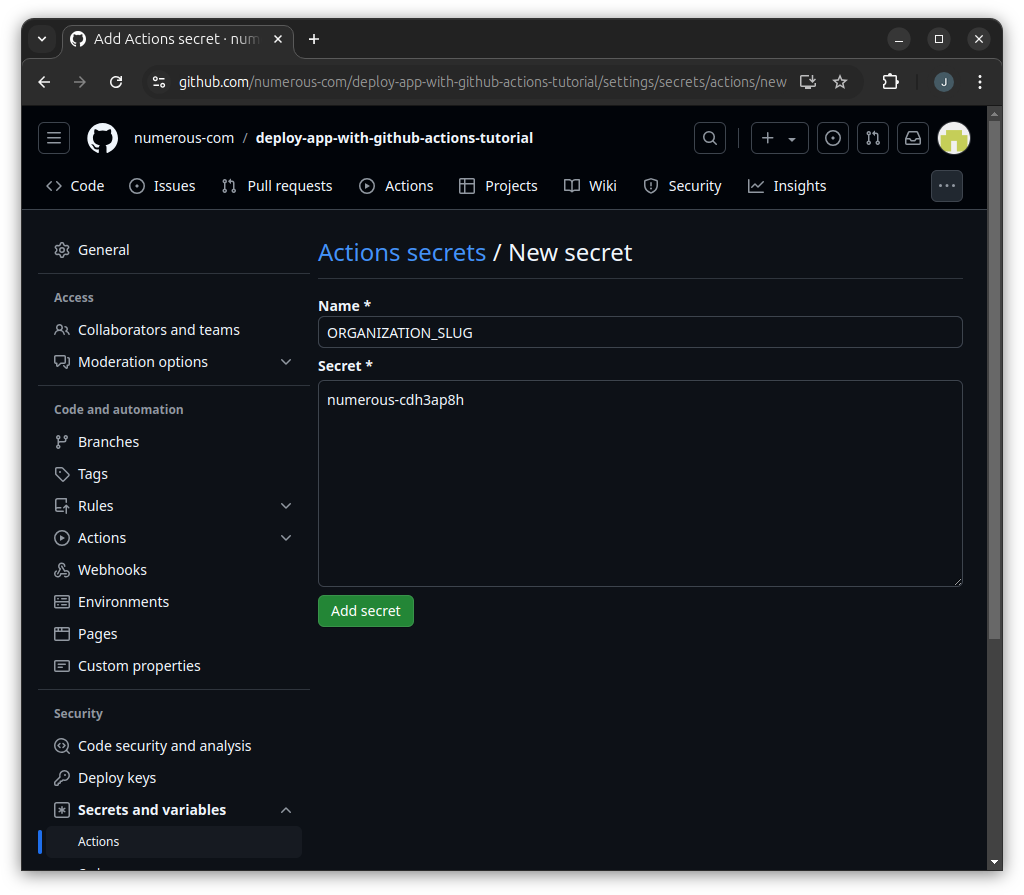
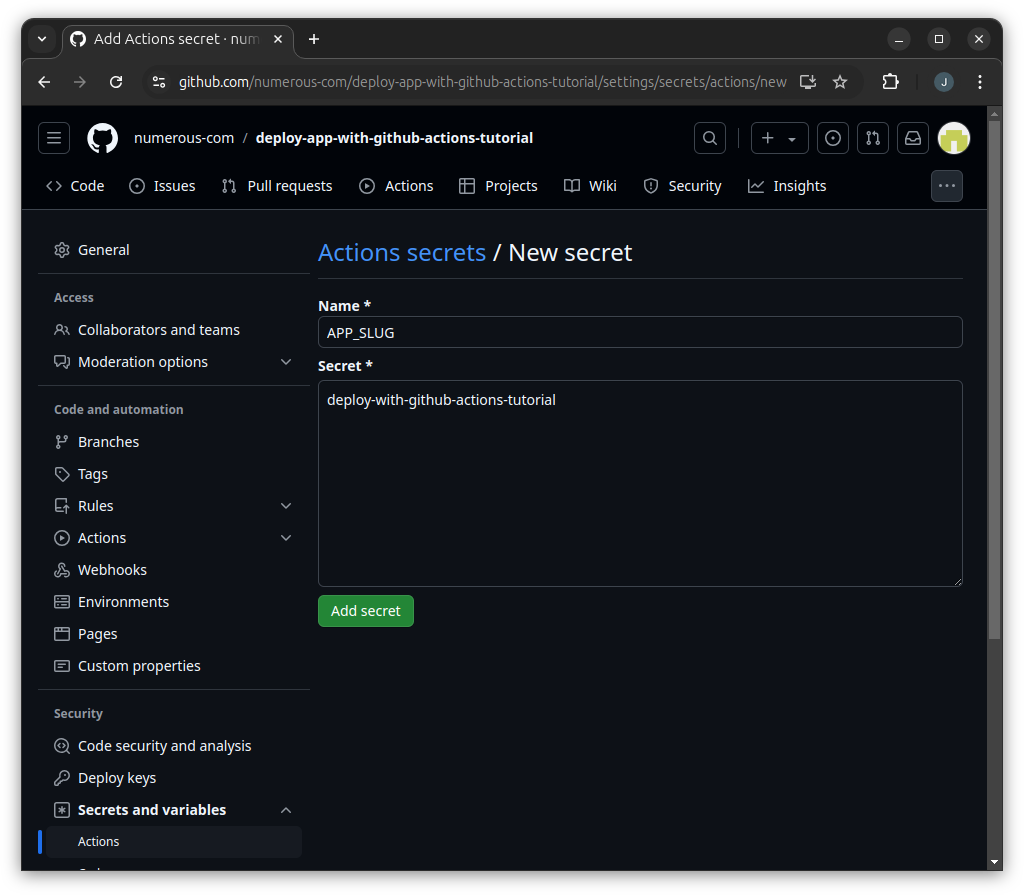
-
Finally, the app slug is user-defined. You can select a different value, but it has to be composed of only lowercase alphanumeric characters with dashes as the separator. It will become part of the URL for the app.
Push your repository
Now commit and push the simple app and the workflow file. GitHub actions should then start a workflow for your repository!
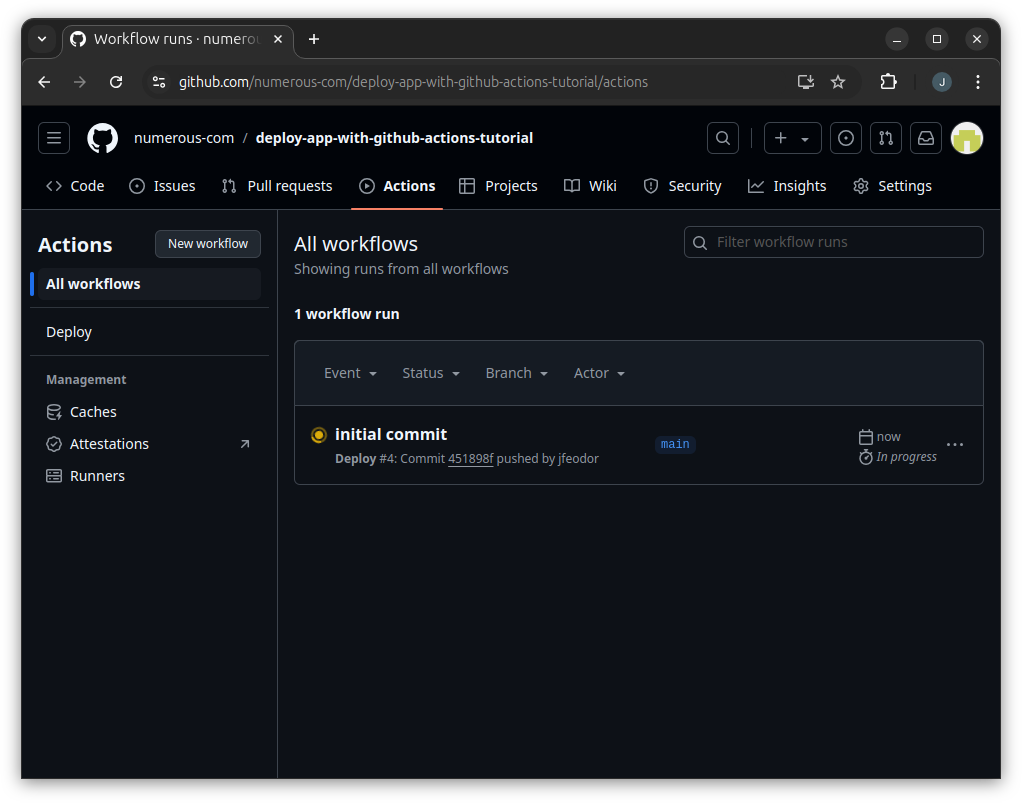
When the workflow has completed, the app should be deployed to the specified organization and app slug.